Stitch How-To: Guide to the French Knot
Hello, my artsy friend! Today we're exploring one of the most iconic (and sometimes intimidating) embroidery stitches - the French knot! Get ready to create these gorgeous dimensional dots that add the perfect pop of texture to any project. I remember being so nervous about these little guys when I first started, but now they're one of my absolute favorite stitches to work with!
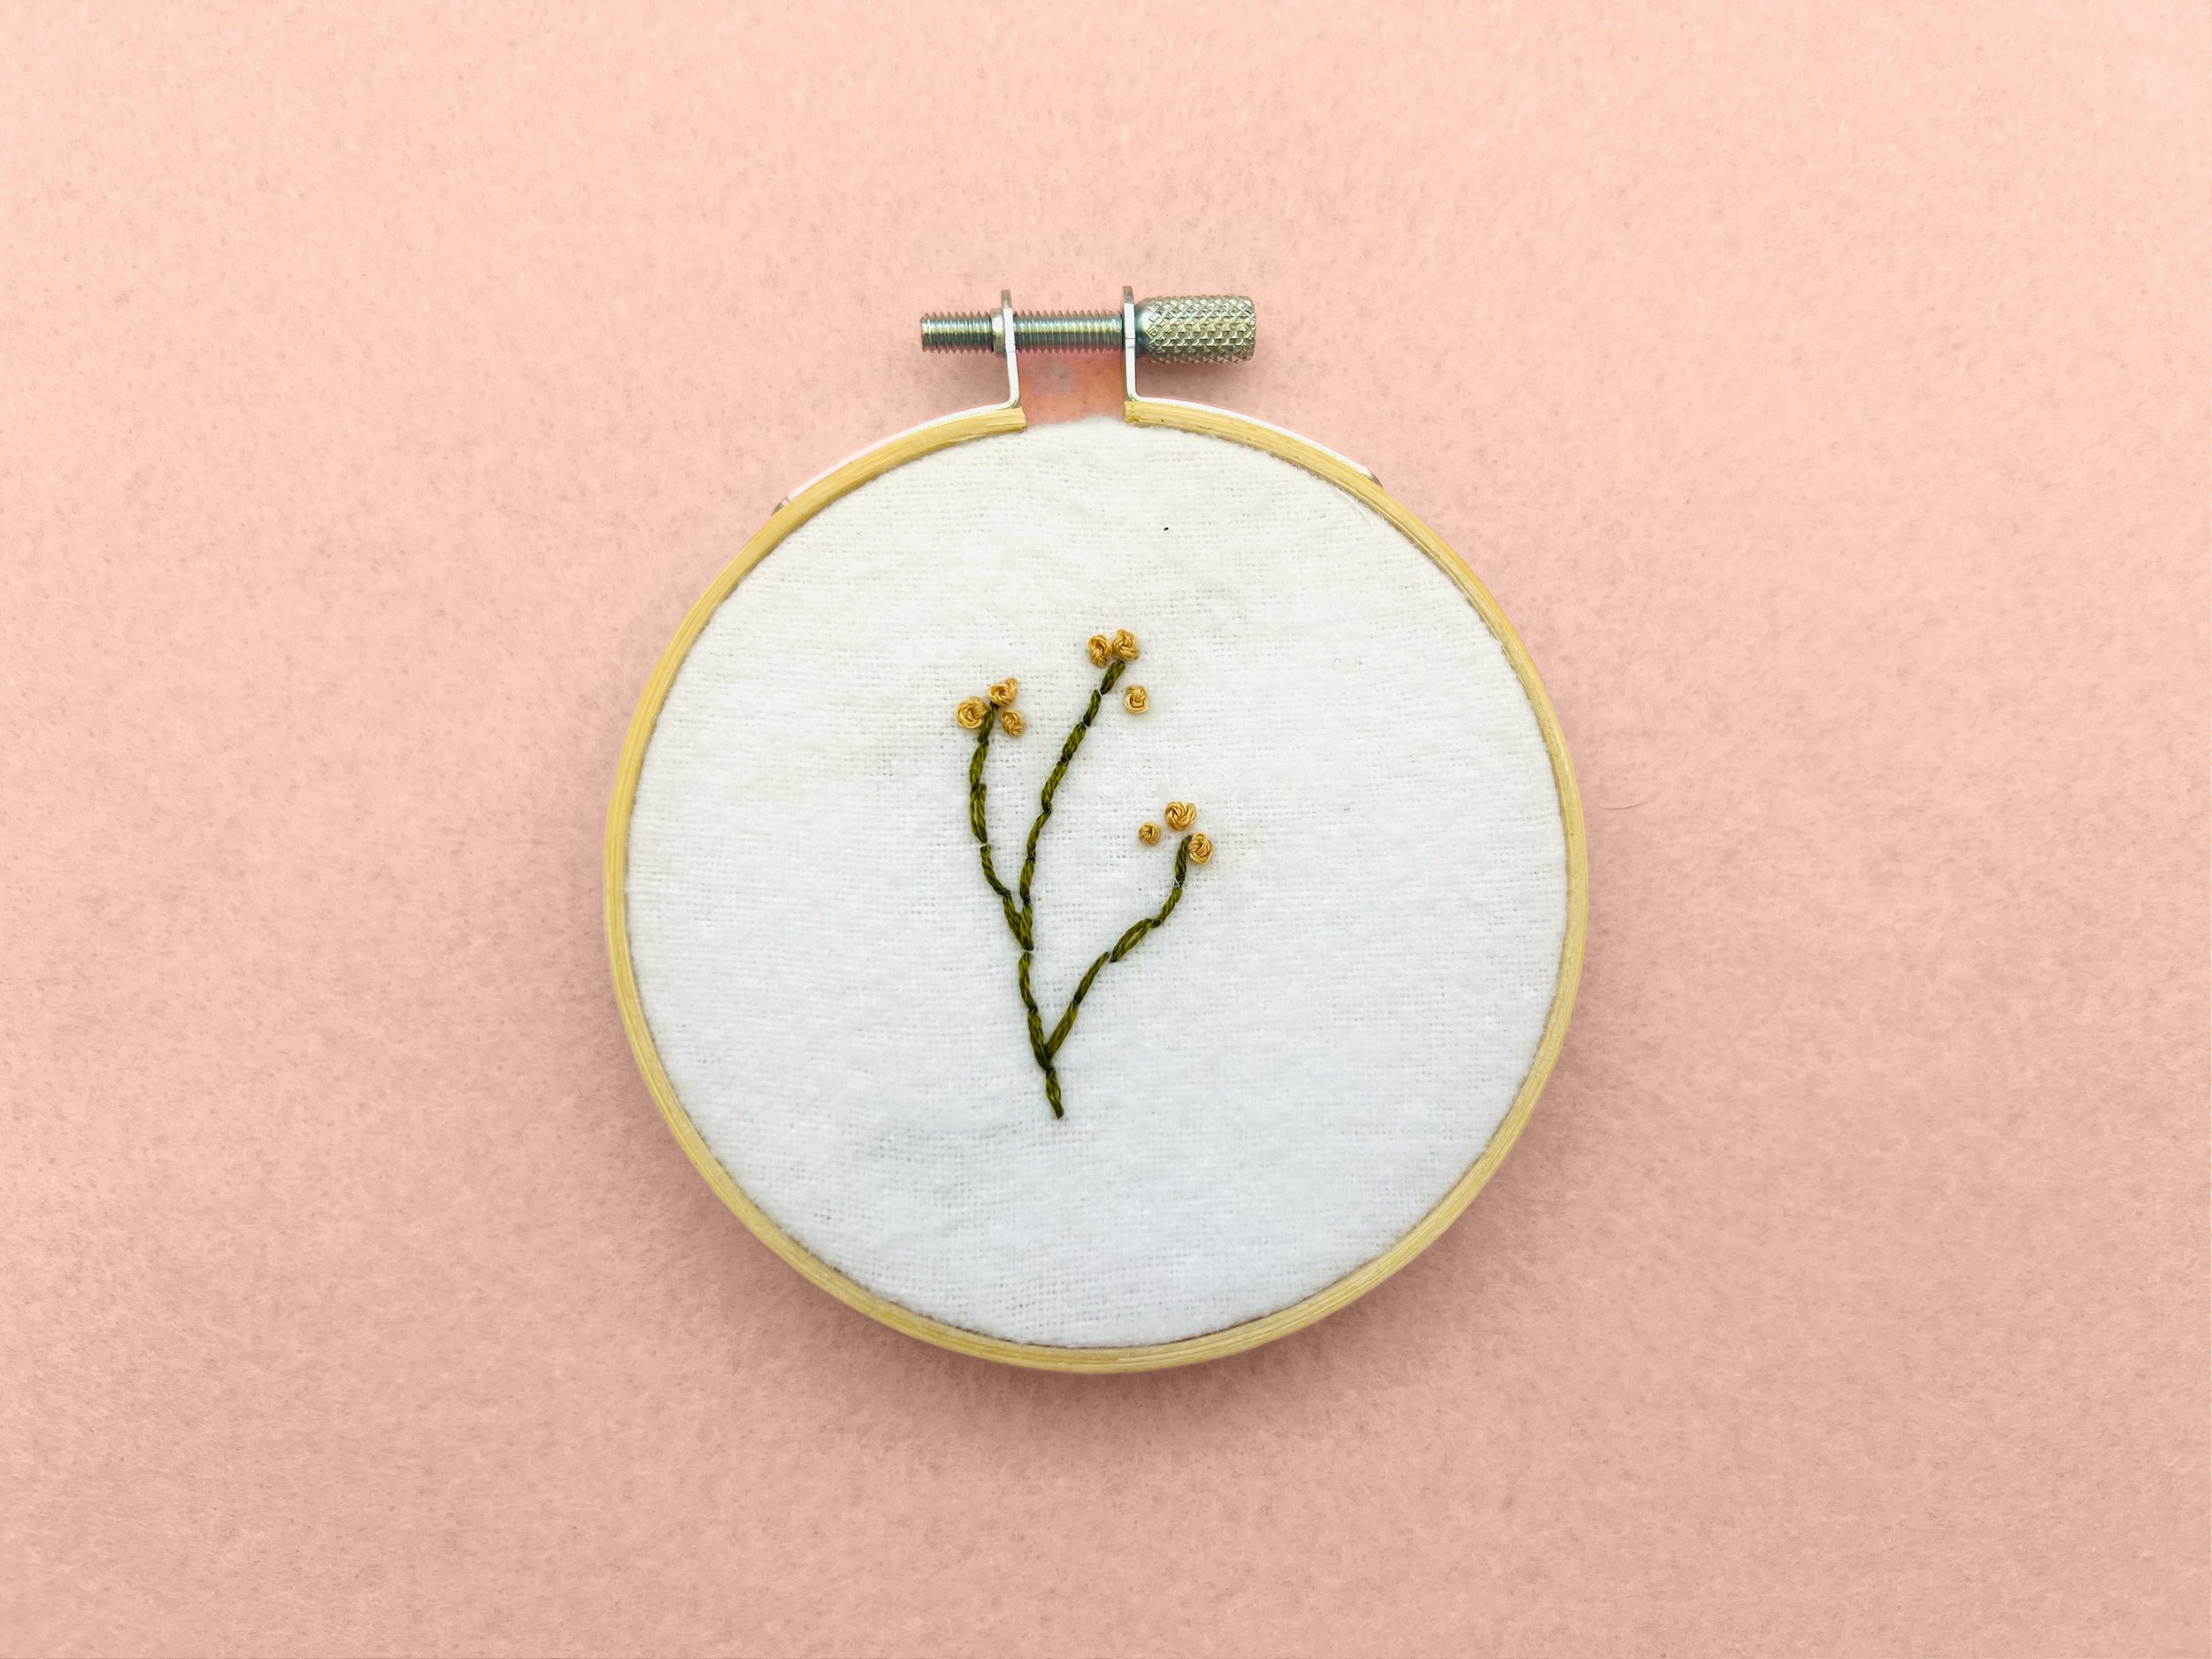
Why French Knots?
Creating beautiful flower centers
Adding texture to landscapes (think stars, berries, or sheep's wool!)
Adding delicate details to any design
Building confidence in your embroidery journey
Let's Break It Down!
Bring your needle up through your fabric
Hold your thread with good tension
Wrap the thread around your needle (2-3 times)
Insert your needle near the original hole
Guide that knot down smoothly
Stitch Tip: The tighter you hold your thread while wrapping, the neater your knot will be!
Creating Different Effects
Vary your wrap count for different sizes
Try different thread thicknesses
Experiment with spacing
Mix up your colors
My personal fave is 3-strands with 2-3 wraps depending on the piece.
Tips for Perfect Knots
Keep your thread tension consistent
Don't pull too tight at the end
Practice on scrap fabric first
Leave enough space between knots
Ready to Practice?
I've created a fun practice pattern that lets you try these techniques. Download your free pattern and guide to stitch along with me! The pattern has 15 different stitches for you to practice so keep an eye out for more stitch tutorials!
What's Coming Next?
Once you've mastered these french knot stitches, you'll be ready to move on to more stitches! Stay tuned for next week's tutorial where we'll explore the pistil stitch!
Happy stitching, my artsy friend! 🪡✨
Join the List!
Subscribe to get weekly updates along with free embroidery patterns, tips, and inspiration delivered straight to your inbox every month.
Disclosure: This page may contain affiliate links which means if you purchase an item through an affiliate link I may receive a small commission at no cost to you — which is awesome because I ‘d be sharing with you anyway!