Stitch How-To: Guide to the Satin Stitch
Hello, my artsy friend! Today we're diving into a classic and oh-so-satisfying embroidery technique: the satin stitch. This is the one that makes your designs pop with smooth, solid color and gives everything a polished, professional finish!
Why Satin Stitch?
I have such a soft spot for the satin stitch (pun totally intended). It’s one of those stitches that feels a little fancy, but once you try it, you’ll be hooked. Whether you’re filling in petals, leaves, hearts, or letters, this stitch brings richness and texture to your hoop.
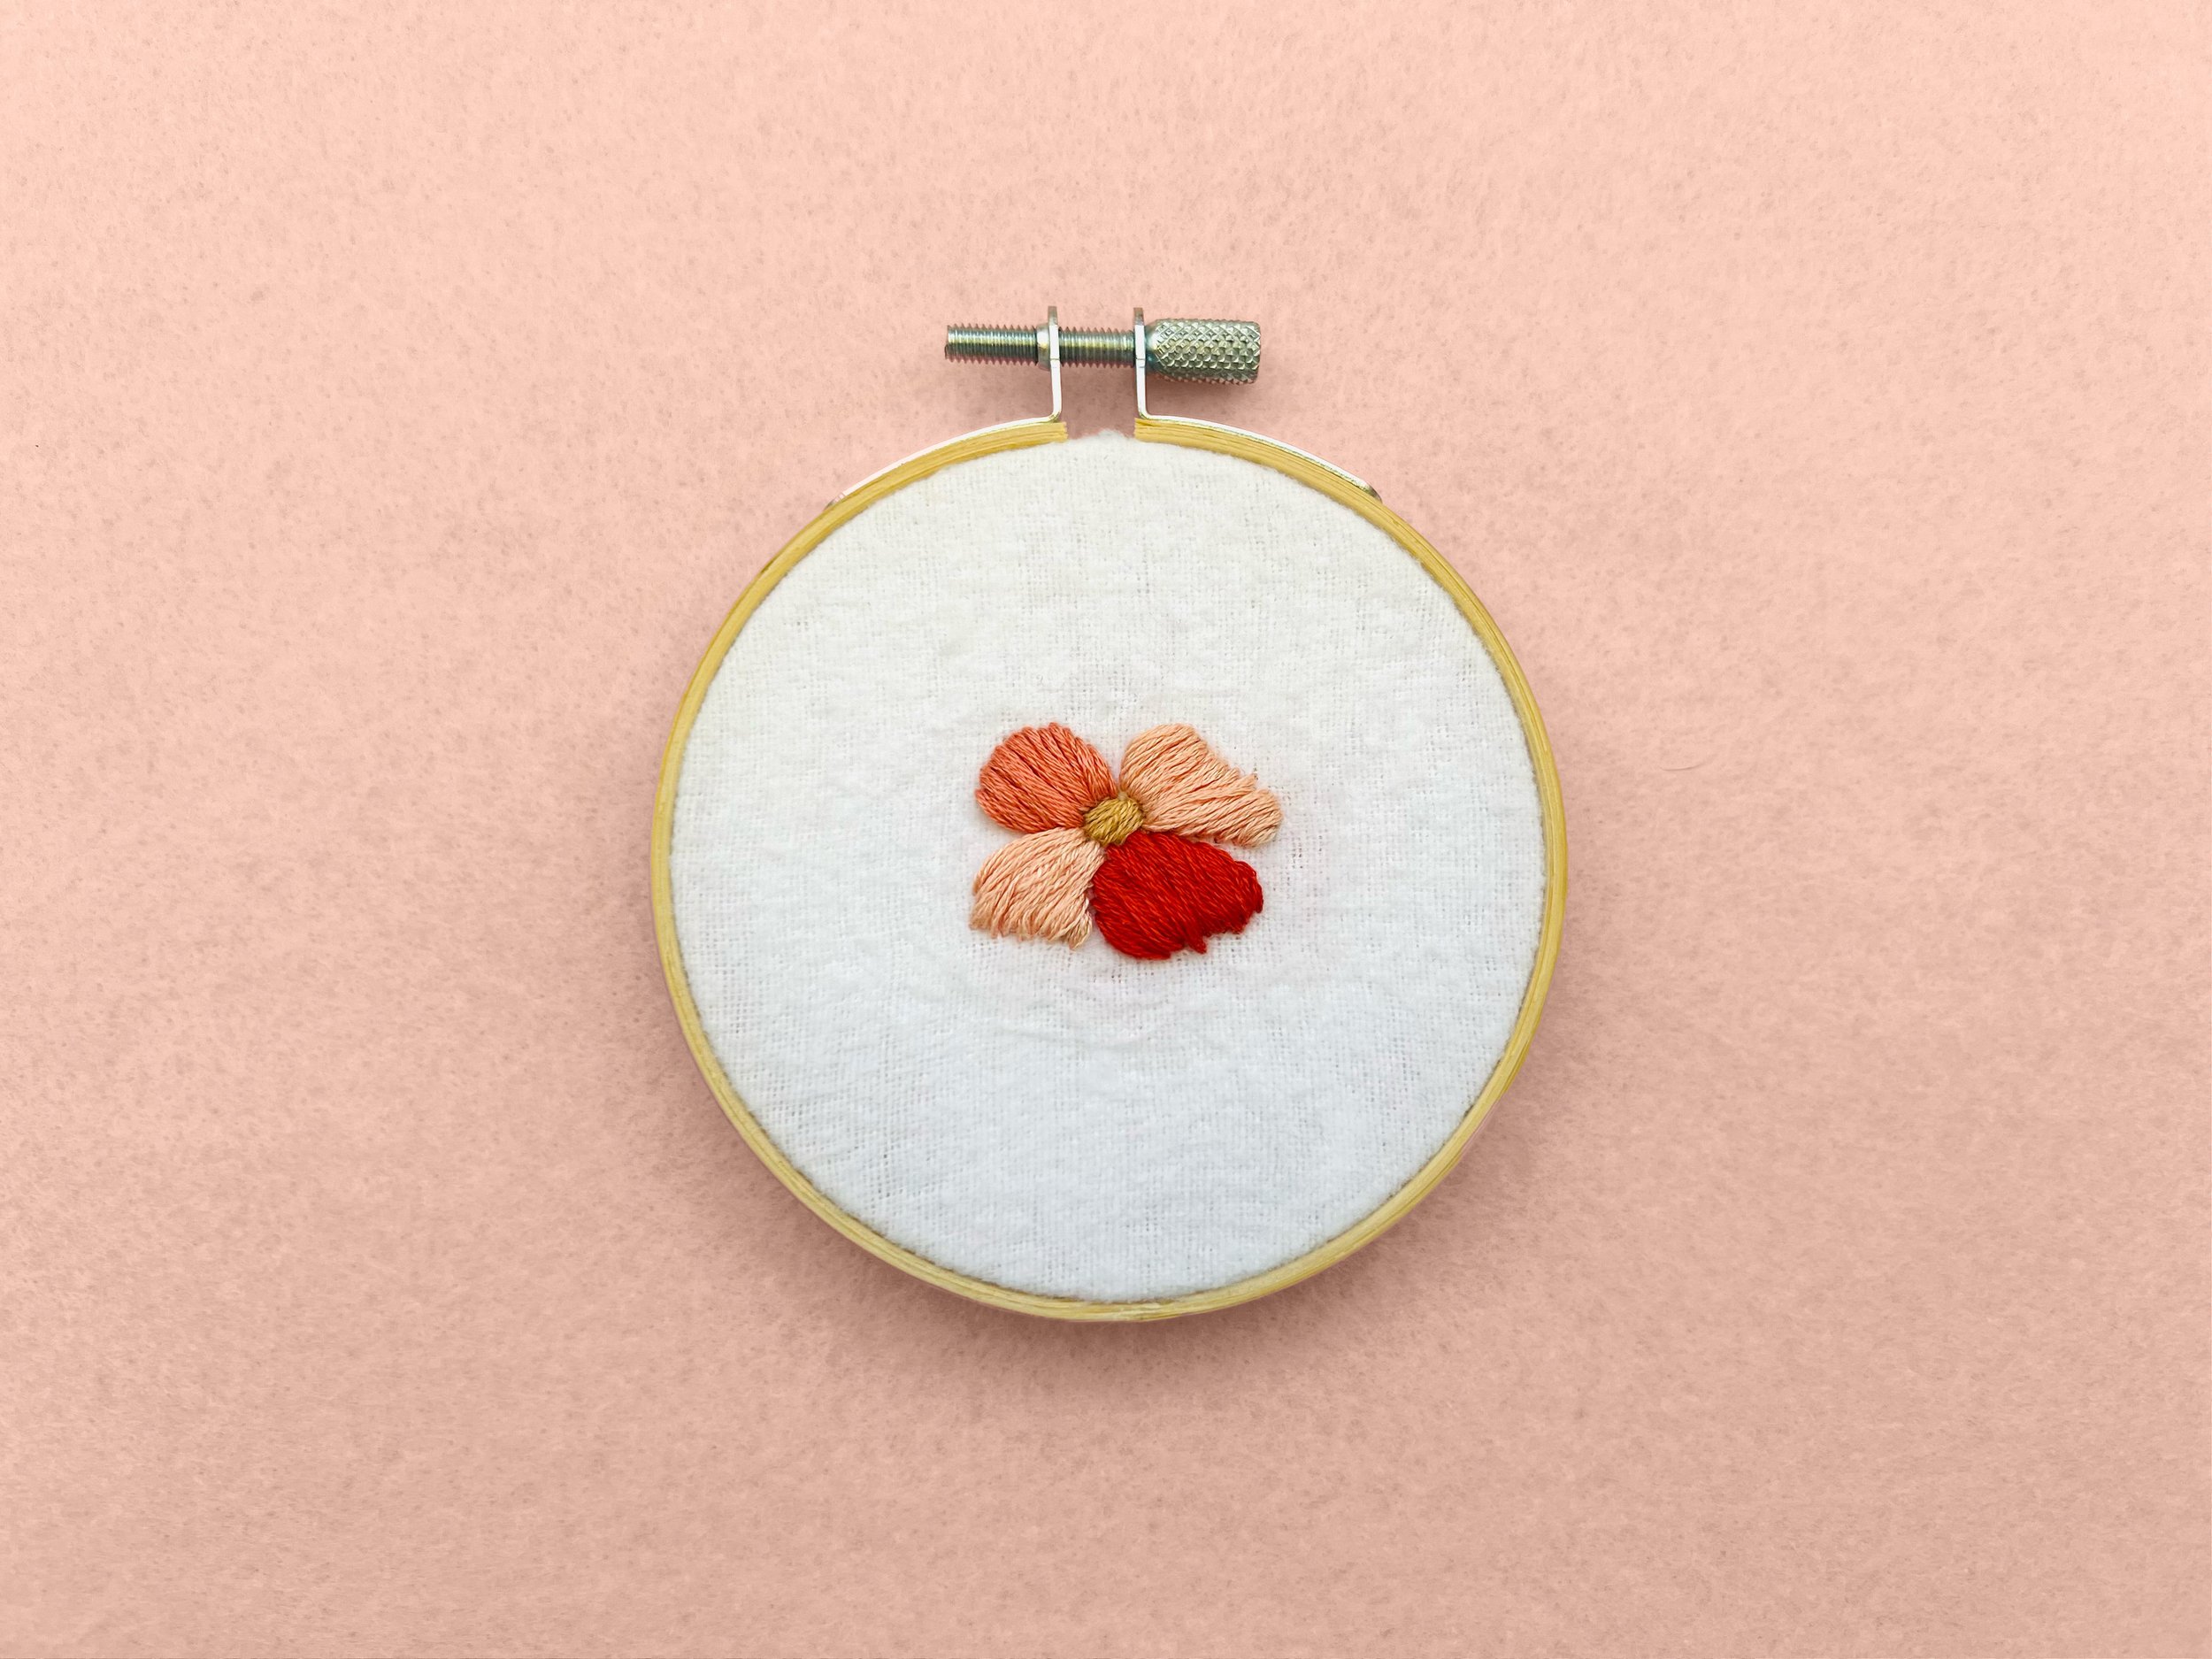
It's perfect when you want drama and dimension in your embroidery—hello, bold blooms and juicy fruit!
Let’s Break It Down!
The satin stitch is all about clean, straight stitches packed tightly together to fill a shape. Here’s the basic idea:
Start with a simple shape (a leaf, a circle, or a heart works great!)
Bring your needle up on one side of the shape, then down on the opposite side
Keep repeating side to side, filling in your shape with parallel stitches
Try to keep each stitch smooth, even, and snug next to the last one
Stitch Tip: Try outlining your shape with a backstitch or split stitch first—this acts as a little border and helps keep your satin stitches neat and contained! You can also do it afterward to cover any unruly edges (my fave is the whipped backstitch for this and even adding a metallic for the border line).
How to Get That Smooth Finish
Here’s how to really make your satin stitch shine:
Use shorter stitches for curved or small areas
Angle your stitches for a natural-looking fill (especially for leaves or petals!)
Keep your tension even—too tight and it puckers, too loose and it’s floppy
Try using a single strand for tiny details, and multiple strands for bold fill — more often than not, my sweet spot is 2-3 strands of the floss.
Beyond the Basics
Once you’ve mastered the traditional satin stitch, you can get playful with it! Try:
Shading with Color: Blend two or more floss colors for a beautiful ombré effect
Directional Stitching: Follow the curve of your design for added movement
Textured Fill: Use a mix of long and short satin stitches for a more organic look
The satin stitch opens up so many creative possibilities and is essential for all levels of stitchers!
Ready to Practice?
I've created a fun practice pattern that lets you try these techniques. Download your free pattern and guide to stitch along with me! The pattern has 15 different stitches for you to practice so keep an eye out for more stitch tutorials!
What's Coming Next?
Once you've mastered these satin stitches, you'll be ready to move on to more stitches! Stay tuned for next week's tutorial where we'll explore the leaf stitch!
Happy stitching, my artsy friend! 🪡✨
Join the List!
Subscribe to get weekly updates along with free embroidery patterns, tips, and inspiration delivered straight to your inbox every month.
Disclosure: This page may contain affiliate links which means if you purchase an item through an affiliate link I may receive a small commission at no cost to you — which is awesome because I ‘d be sharing with you anyway!